INDUCTION PROJECT – ORDER AND CHAOS
Important Dates & Resources
Project Brief
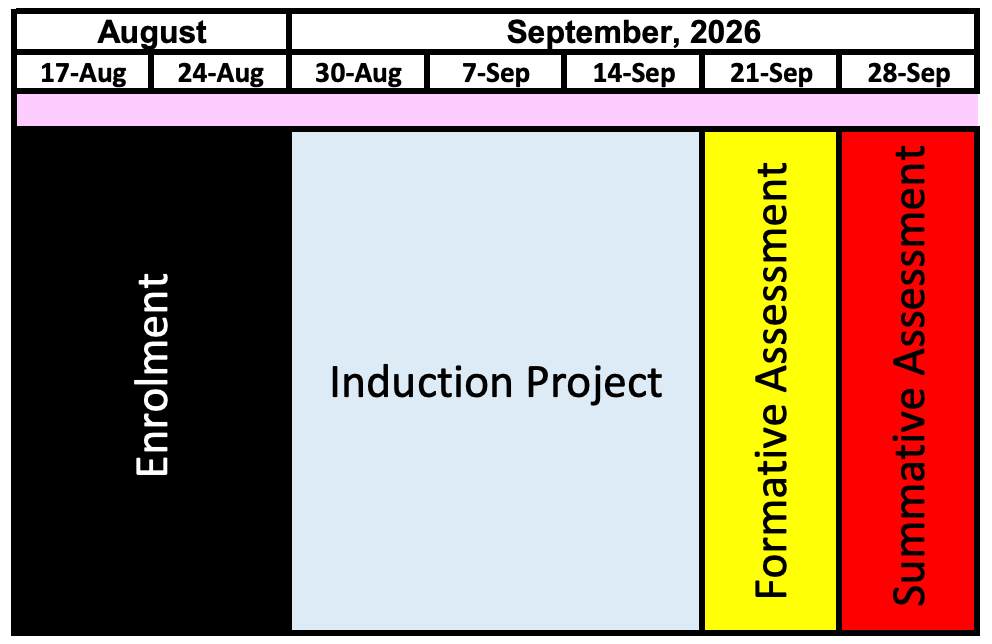
| Project Launch | w/c 31st Aug 2026 |
| Formative Feedback | w/c 21st Sep 2026 |
| Target Completion | — |
| Summative Feedback | w/c 28st Sep 2026 |
WEEK 2 – WC/ 7th Sep
This week, you will complete your blogs and research generative artist Casey Reas. You will then follow a beginner coding tutorial to create your own generative stripe artwork, experimenting with repetition, colour, thickness and controlled chaos. For remote learning, upload your final outcome and complete an evaluation explaining your creative choices, what worked well and how your artwork connects to the theme of Order and Chaos.
- Complete Blog Set Up
- Complete Artist Research
- Generative Stripes Art

In Lesson Tasks
Generative Stripes: Beginner Coding Tutorial
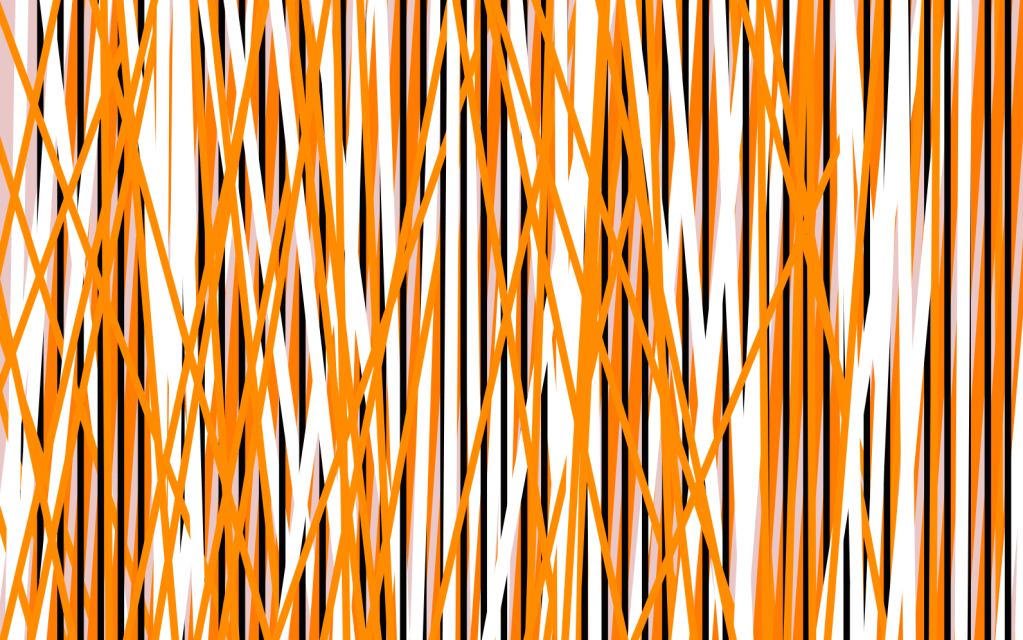
In this task, you will create digital artwork using code. You will begin with a simple stripe pattern and gradually add new pieces of code, like building with Lego.
You do not need to understand everything immediately. Follow each step carefully and press Play after making a change.
Step 1: Open p5.js
- Open the p5.js Web Editor.
- Delete all the existing code.
- Copy and paste the starter code below.
- Press the Play ▶ button.
Step 2: Starter code
// SET UP THE DIGITAL CANVASfunction setup() { // Create an artwork that is 800 × 500 pixels createCanvas(800, 500); // Draw the artwork only once noLoop();}// CREATE THE ARTWORKfunction draw() { // BACKGROUND COLOUR // Replace the hex code to choose another colour background("#eac7c7"); // NUMBER OF STRIPES // Change 10 to another number let total = 10; // REPEAT THE CODE TO CREATE THE STRIPES for (let stripe = 0; stripe < total; stripe++) { // Calculate the position of each stripe let x = (stripe + 1) * width / (total + 1); // MAIN STRIPE COLOUR // Replace the hex code to choose another colour stroke("#ffbb00"); // MAIN STRIPE THICKNESS // A larger number creates a thicker stripe strokeWeight(20); // DRAW THE MAIN STRIPE // x = horizontal position // 0 = top of the canvas // height = bottom of the canvas line(x, 0, x, height); // ADD OPTIONAL CODE BRICKS BELOW THIS LINE }}
Step 3: Change the basic design
Change one setting at a time and press Play again.
Change the number of stripes
Find:
let total = 10;
Try a different number like:
let total = 20;
Then try a smaller or larger number.
Change the background
Find:
background("#eac7c7");
Replace the hex code with the colour you want. Only change the colour inside the quotation marks.
Change the stripe colour
Find:
stroke("#ffbb00");
Try a different colour.
Change the thickness
Find:
strokeWeight(20);
Try a different number.
A smaller number makes thinner stripes. A larger number makes thicker stripes.
Step 4: Add a second stripe (
Find this comment inside the loop:
// ADD OPTIONAL CODE BRICKS BELOW THIS LINE
Paste this code directly underneath it:
// SECOND STRIPEstroke("#FF3D8D");strokeWeight(10);line(x + 20, 0, x + 20, height);
Your second stripe has its own:
- Colour
- Thickness
- Position
Change 20 to move the second stripe:
line(x + 40, 0, x + 40, height);
The second stripe will move further away from the main stripe.
Step 5: Make the second stripe diagonal
Find the second stripe:
line(x + 20, 0, x + 20, height);
Replace it with:
line(x + 50, 0, x + 20, height);
The first horizontal position is x + 50, but the final position is x + 20. Because the two positions are different, the stripe becomes diagonal.
Experiment with the numbers. You can also slant it in the opposite direction:
line(x - 50, 0, x + 20, height);
Step 6: Add a third stripe
Underneath the second-stripe code, add:
// THIRD STRIPEstroke("#713AFF");strokeWeight(5);line(x - 20, 0, x - 20, height);
Change its colour, thickness and position.
Step 7: Create random chaos
This is an additional higher-level challenge.
You can add random movement to any stripe.
Replace its line() code with:
line( x + random(-60, 60), 0, x + random(-60, 60), height);
Change the numbers to control the chaos:
random(-20, 20) // Less chaosrandom(-100, 100) // More chaos
Step 8: Alternate between two colours
This is an additional higher-level challenge.
Find the main colour:
stroke("#ffbb00");
Replace it with:
// ALTERNATE BETWEEN TWO COLOURSif (stripe % 2 === 0) { stroke("#ffbb00");} else { stroke("#FF3D8D");}
The stripes will alternate between yellow and pink.
Step 9: Make Any Stripe Cross
Replace the line() code of any stripe with:
line( x, 0, width - x, height);
This changes that stripe from vertical to crossing the canvas diagonally. You can change the first and last value, see what happens.
Step 10: Create a gradient background
Replace:
background("#eac7c7");
With:
let topColour = color("#FFB703");
let bottomColour = color("#FB6F92");

for (let y = 0; y < height; y++) {
  let amount = map(y, 0, height, 0, 1);
  stroke(lerpColor(topColour, bottomColour, amount));
  line(0, y, width, y);
}
Change the two colour codes to personalise the gradient.
What to produce
Create at least two designs:
- A simple one-colour stripe design.
- A design using double or triple stripes.
- Higher-level students will produce a more experimental design using diagonal lines, alternating colours or random positions and/or create codes that is not in this guide.
For each design, save:
- A screenshot of your artwork.
- Write the code on your blog using a code block
- Reflection and evaluation of what you changed.
If your code stops working
Check that:
- Colours have quotation marks:
"#FF0000" - Commands finish with a semicolon:
; - Every opening bracket
{has a closing bracket} - You pasted new code inside the
forloop - You did not delete
xfrom theline()command - You pressed Play after making changes
Use Cmd + Z on Mac or Ctrl + Z on Windows to undo your last change.
TASK 2 -Generative Shape Grid: Order to Chaos
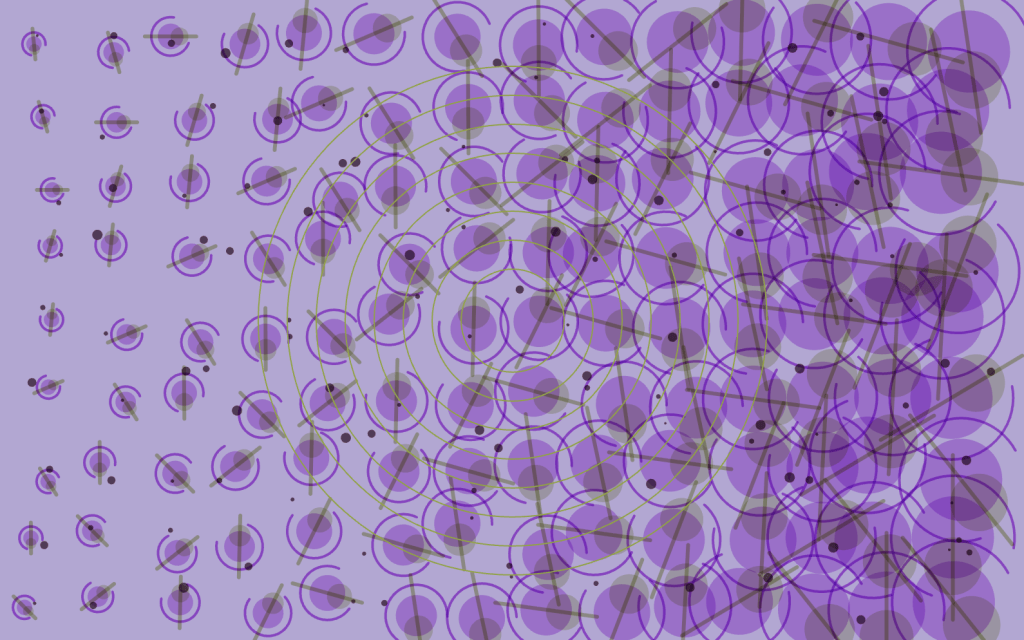
In this task, you will use code to create a repeated grid of circles. You will begin with an ordered pattern before changing the size, position and shape of the objects to introduce chaos.
Step 1: Open p5.js
- Open the p5.js Web Editor.
- Delete the existing code.
- Paste the code below.
- Press Play ▶.
Step 2: Create an ordered grid
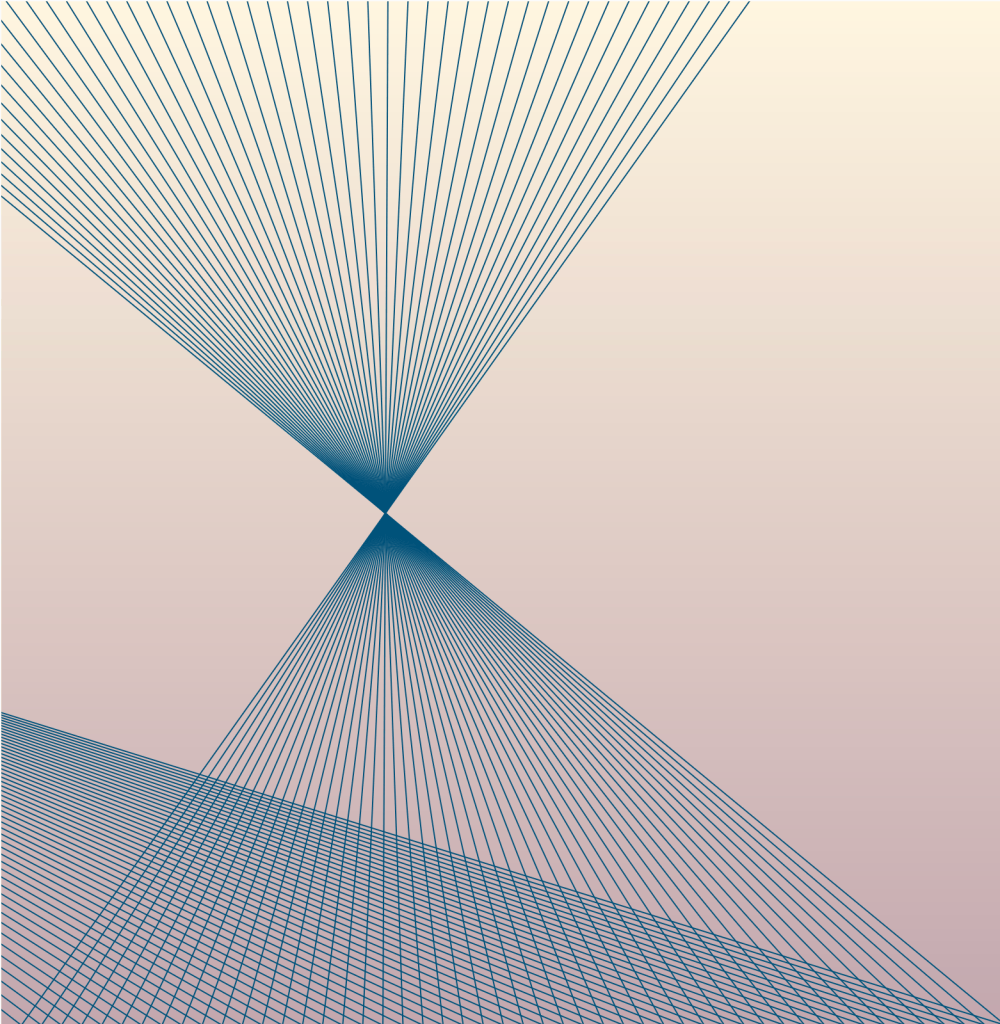
function setup() { // Create the digital canvas createCanvas(800, 500); // Draw the artwork only once noLoop();}function draw() { // Choose the background colour background("#F5E6FF"); // Repeat down the canvas for (let y = 40; y < height; y = y + 60) { // Repeat across the canvas for (let x = 40; x < width; x = x + 60) { // Choose the shape colour fill("#713AFF"); // Remove the outline noStroke(); // Draw a circle circle(x, y, 30); // ADD OPTIONAL CODE HERE } }}
Experiment by changing:
background("#F5E6FF"); // Background colourfill("#713AFF"); // Circle colourcircle(x, y, 30); // Circle size
Change the spacing between the shapes:
y = y + 60x = x + 60
A smaller number creates more shapes. A larger number creates fewer shapes.
Step 3: Gradually increase the size
Replace:
circle(x, y, 30);
With:
// Increase the circle size from left to rightlet objectSize = map( x, 40, width - 40, 10, 60);circle(x, y, objectSize);
10is the size on the left.60is the size on the right.
Reverse the numbers to make the circles become smaller:
let objectSize = map( x, 40, width - 40, 60, 10);
Step 4: Change the shape
Change:
circle(x, y, objectSize);
To:
square(x, y, objectSize);
You can also try:
triangle( x, y - objectSize, x - objectSize, y + objectSize, x + objectSize, y + objectSize);
Step 5: Introduce chaos
To create random sizes, replace the shape with:
circle( x, y, random(10, 60));
T
o create random positions, use:
circle( x + random(-20, 20), y + random(-20, 20), objectSize);
Change the numbers to control the chaos:
random(-10, 10) // Slight movementrandom(-50, 50) // More chaos
Step 6: Alternate between two colours
Replace:
fill("#713AFF");
With:
if ((x + y) % 120 === 0) { fill("#FF006E");} else { fill("#3A86FF");}
Change both colour codes to create your own palette.
Final outcome
Create two artworks:
- Order: an organised grid with controlled spacing and gradual size changes.
- Chaos: a modified version using random sizes, positions, colours or different shapes.
Save a screenshot of each artwork and your code.
Write one sentence explaining your changes
WEEK 1 – WC/ 31st Aug
This week, you will research digital artist Casey Reas and discover how he uses computer code, rules and chance to create generative artwork. You will select and analyse two examples, considering how they represent order and chaos, before explaining how his work could influence your own creative ideas. You will also submit the link to your project blog and prepare for remote learning by downloading Microsoft Teams and OneDrive.
In Lesson Tasks
Research: Casey Reas
Casey Reas is an artist who uses computer code and sets of instructions to create generative artwork. His work often combines controlled systems with unpredictable visual results. He also co-created Processing, a creative coding platform used by artists and designers. Casey Reas’s official website | Process series
Your task
Create a research post about Casey Reas for your project blog. Your research should contain approximately 350–500 words and be written in your own words.
Include the following sections:
1. About the artist
Explain:
- Who is Casey Reas?
- What type of artwork does he create?
- What is generative art?
- How does he use computer code as an artistic tool?
- What is Processing, and why is it important to his practice?
2. Artwork analysis
Select two artworks by Casey Reas. Include a clear image of each work and write:
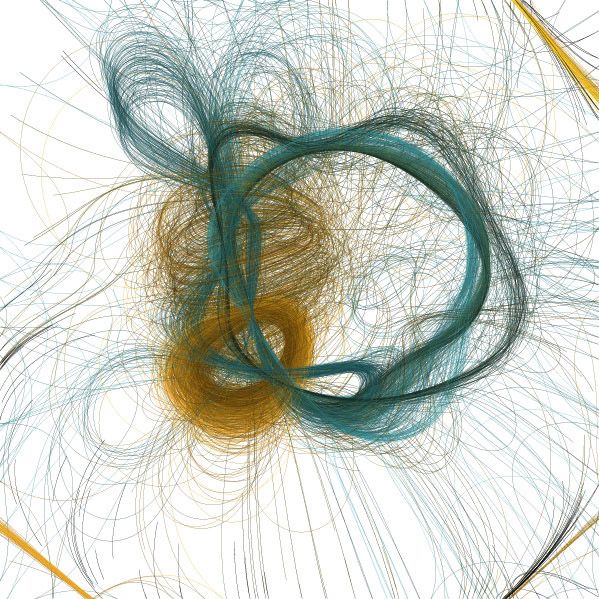
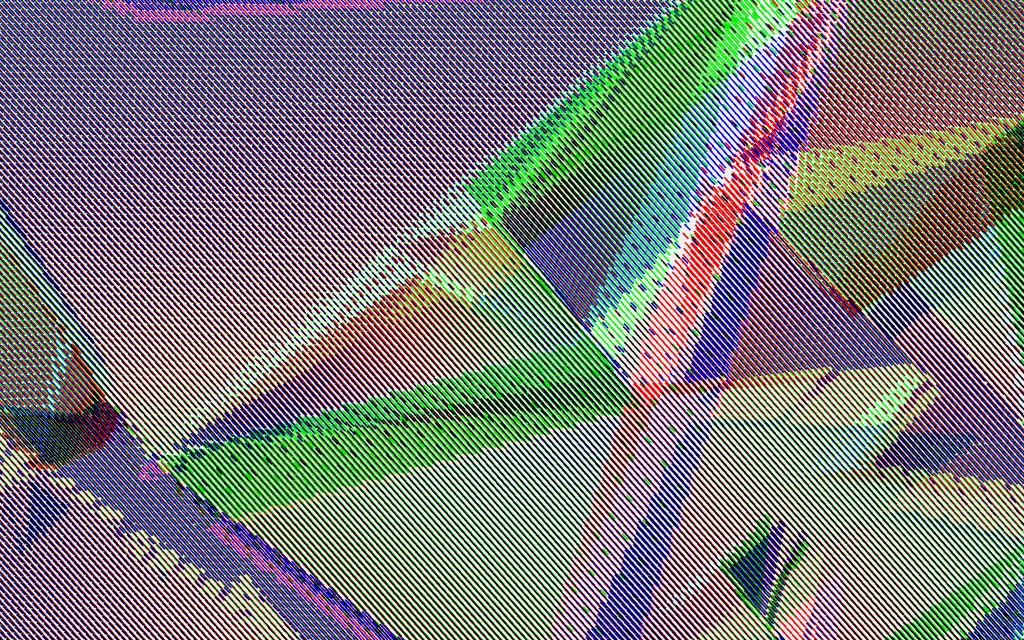
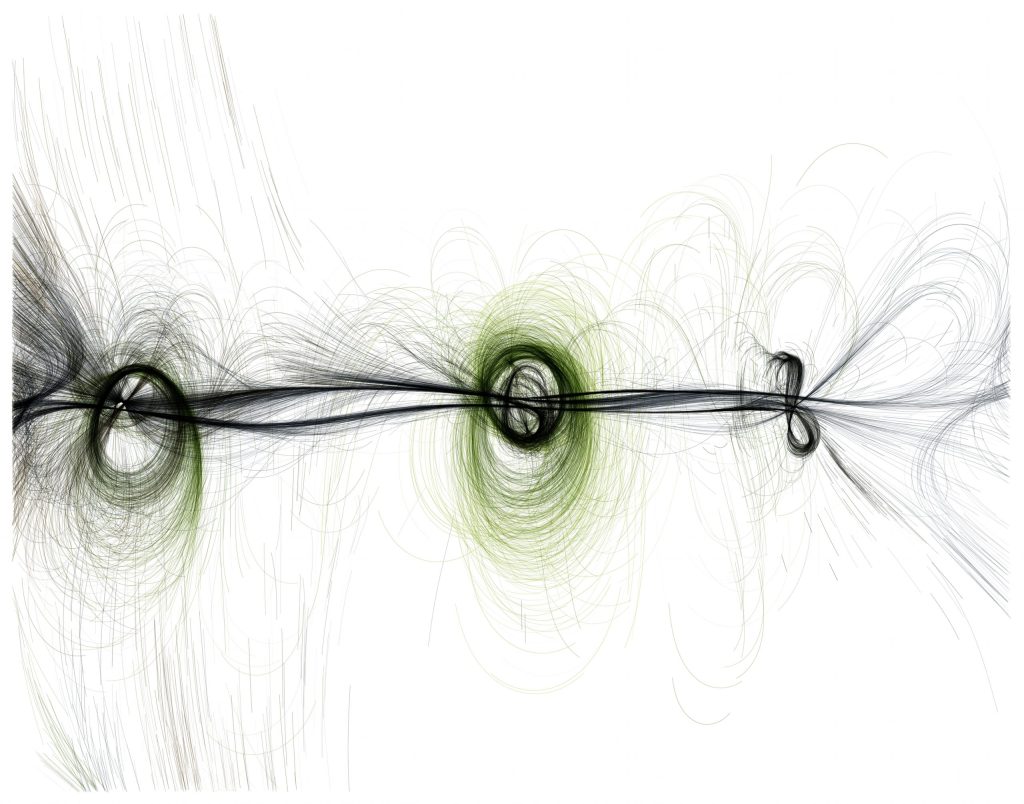
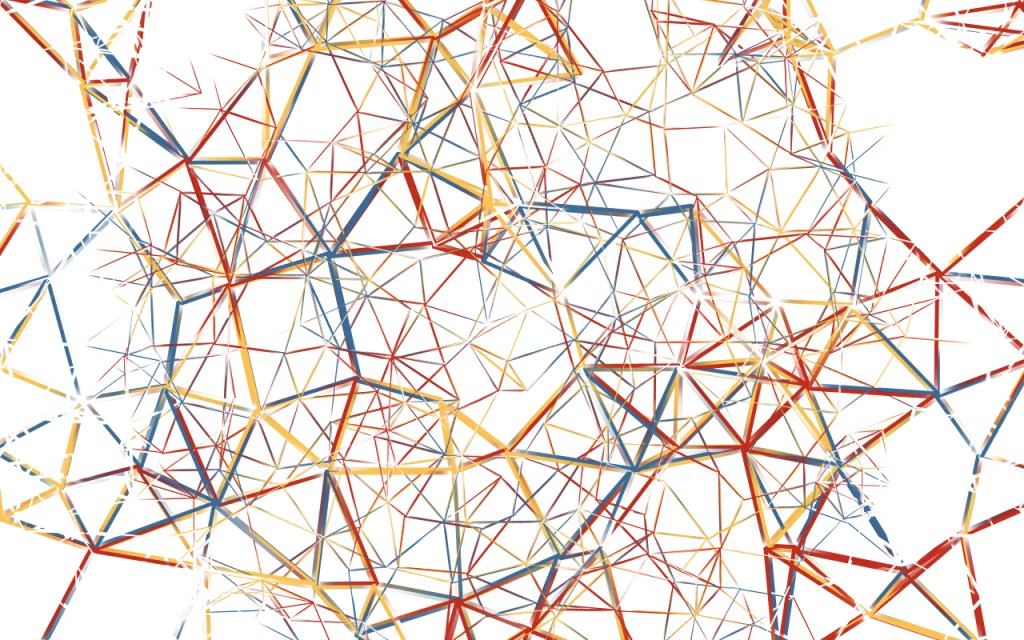
- The title and date of the artwork.
- What can you see?
- What colours, shapes, lines, movement or patterns are used?
- How was the work created?
- Which parts appear ordered, and which parts appear chaotic?
- What mood or atmosphere does the artwork create?
- What do you find interesting or effective about it?
Do not simply describe the image. Explain your opinions and support them with visual evidence.
3. Connection to your project
Explain how Casey Reas’s work could influence your own creative work.
 Art & Design @ West Thames College