INDUCTION PROJECT – ORDER AND CHAOS
Important Dates & Resources
Project Brief
| Project Launch | w/c 31st Aug 2026 |
| Formative Feedback | w/c 21st Sep 2026 |
| Target Completion | — |
| Summative Feedback | w/c 28st Sep 2026 |
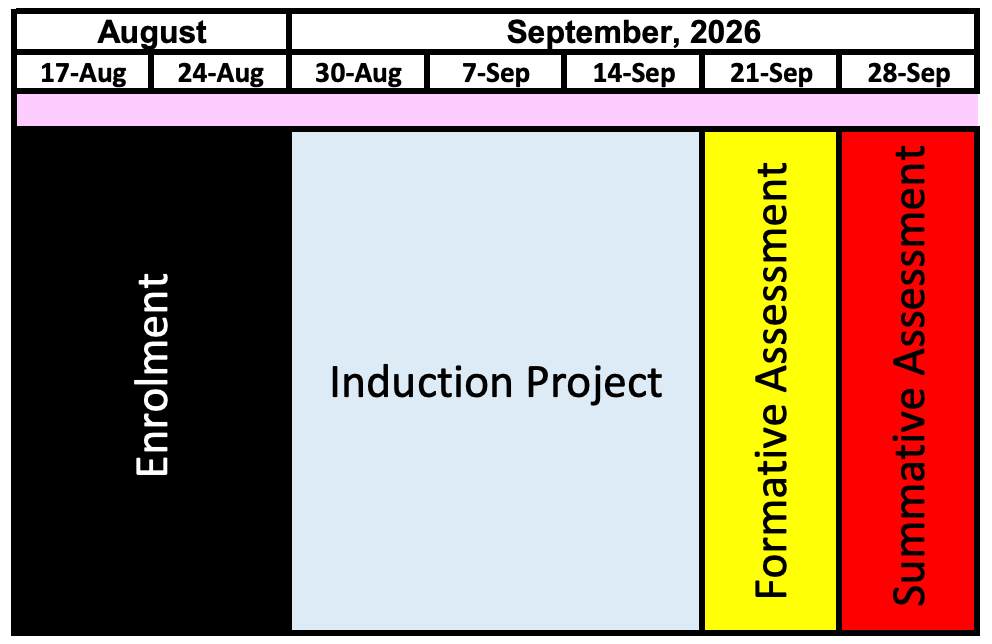
WEEK 4 – WC/ 21st Sep
This week, you will document and evaluate the photograms you created in the darkroom. You will scan both photograms, photograph the objects you used and upload everything to the Digital page of your project blog. You will then explain how light affected each object and evaluate your final outcomes.


In Lesson Tasks
Scan, Upload and Evaluate Your Photograms
What you must complete today
- Scan your photograms.
- Photograph the objects you used.
- Upload the photographs and scans to your Digital page.
- Explain the effect created by each object.
- Evaluate your final photograms.
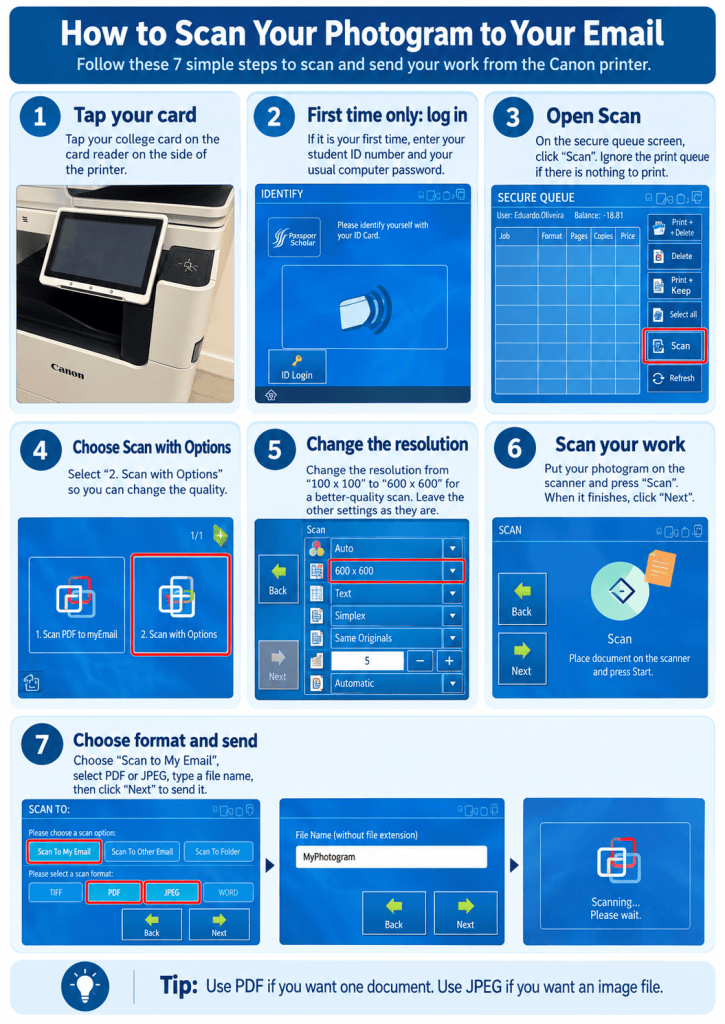
Task 1: Scan your photograms
- Find the college printer/scanner.
- Follow the image guide below.
- Scan each photogram separately.
- Send the scans to your college email.
- Open your email and download both scans.
- Check that they are straight, clear and show the complete photogram.
Do not photograph your photograms. Photographic paper is glossy, so lights and reflections will appear on the surface. You must upload the scanned versions.
Task 2: Photograph your objects
Arrange the objects you used on a plain background and take clear photographs.
Check that:
- Every object can be seen.
- The photograph is in focus.
- There are no strong shadows.
- Your fingers and other objects are not in the photograph.
Task 3: Upload to your blog
Open your project blog and go to your Digital page. Click Edit and organise your work in this order:
Photograms: Order and Chaos
Add a short introduction:
I created two photograms in the darkroom. One represents Order and the other represents Chaos. I used different objects to investigate how light, transparency and distance affect photographic paper.
Objects Used
- Click the + button.
- Search for Gallery.
- Select Gallery and click Upload.
- Upload your photographs of the objects.
- Add the name of each object as a caption.
To select several files on a Mac:
- If the files are next to each other, click the first file, hold Shift and click the last file.
- If the files are separated, hold Command (⌘) and click each file.
Final Photograms
Add another Gallery block and upload both scanned photograms.
Add this captions:
- Order and Chaos Photogram
Evaluation
Add a Heading block called “Evaluation”. Copy and complete the questions below using full sentences.
Task 4: Explain your objects
Copy this section for each object you used:
Object:
I used a __________________________.
Type of object:
It was opaque / translucent / transparent.
Effect on the light:
It blocked all / some / very little of the light.
Result:
On the photogram, it created a white / light grey / dark grey / black shape.
Edges:
The edges were sharp / soft / blurred because the object was __________________________.
What I discovered:
This object taught me that __________________________.
Task 5: Evaluate your photograms
Order
- Which photogram represents Order?My Order photogram is __________________ because __________________.
- How did you arrange the objects?I created Order by using repetition / symmetry / equal spaces / a pattern.
- Which part is most successful?The most successful part is __________________ because __________________.
Chaos
- Which photogram represents Chaos?My Chaos photogram is __________________ because __________________.
- How did you arrange the objects?I created Chaos by overlapping / rotating / scattering / crowding the objects.
- Which part is most successful?The most successful part is __________________ because __________________.
Final reflection
- Which object created the most interesting effect? Why?The most interesting object was __________________ because __________________.
- Was your exposure successful?My photogram was too light / balanced / too dark because __________________.
- Did anything unexpected happen?I did not expect __________________. This happened because __________________.
- What would you change?
If I created the photogram again, I would __________________ because __________________.
Before finishing, check that you have uploaded photographs of your objects, both scanned photograms and all evaluation answers. Click Update or Publish, then view the page to make sure everything is visible.
WEEK 3 – WC/ 14th Sep
This week, you will use your research to create your own photograms in the darkroom. You will select and arrange objects, expose photographic paper to light and process your images using developer, stop bath, fixer and water.
In Lesson Tasks
Creating Photograms in the Darkroom
This week, you will use your research to create your own photograms in the darkroom. You will select and arrange objects, expose photographic paper to light and process your images using developer, stop bath, fixer and water.
You should create:
- One photogram representing Order
- One photogram representing Chaos
1. Select and plan your objects
Choose a mixture of safe, clean and dry objects:
- Opaque objects block the light and create white shapes.
- Transparent objects allow light through and create darker areas.
- Translucent objects allow some light through and create grey tones.
- Objects placed directly on the paper create sharp edges.
- Objects raised above the paper create softer, blurred edges.
Do not use sharp, wet, leaking, dirty or valuable objects.
Plan your arrangements on ordinary paper before entering the darkroom:
- Order: repetition, symmetry, patterns, grids and equal spaces.
- Chaos: overlapping objects, different directions, irregular spaces and crowded areas.
2. Prepare the darkroom
- Put on the provided apron, gloves and eye protection.
- Make sure the enlarger light and white room lights are switched off.
- Wait for permission before opening the photographic paper.
- Work only under the darkroom safelight.
- Keep unused photographic paper sealed inside its packet or box.
- Keep the dry area around the enlarger separate from the wet area containing the chemicals.
3. Arrange and expose the photogram
- Place the photographic paper under the enlarger with the light-sensitive side facing upwards.
- Arrange your objects carefully on top of the paper.
- Check that the enlarger light will cover the entire sheet.
- Complete a test strip first, using the exposure times given by your teacher.
- Select the best exposure time.
- Place a new sheet of paper under the enlarger and recreate your arrangement.
- Keep the objects still and expose the paper for the selected time.
- Switch off the enlarger before removing the objects and paper.
The areas receiving the most light will become the darkest. Areas protected by objects will remain white or lighter.
4. Process the photogram
The paper must move in one direction only:
Developer → Stop bath → Fixer → Wash
- Developer: Fully place the paper into the developer. Gently rock the tray and wait for the image to appear. Follow the displayed processing time.
- Stop bath: Allow the developer to drain back into its tray, then move the paper into the stop bath. This stops the development process.
- Fixer: Move the paper into the fixer. This makes the image permanent and no longer sensitive to light after it has been fixed for the full required time.
- Wash: Wash the print in clean running water for the time given by your teacher.
- Place the finished print in the correct drying area.
Use the separate, labelled tongs provided for each tray. Never swap the tongs or place them in a different chemical. Never move paper backwards from the stop bath or fixer into the developer. If the result is unsuccessful, begin again with a fresh sheet.
Phone rules
You may document your work only when your teacher gives permission.
- Set your screen to its lowest brightness.
- Turn on Dark Mode, Night Shift or the red colour filter.
- Turn the camera flash off.
- Use the camera’s Night mode if needed.
- Keep the screen facing away from unprocessed photographic paper.
- Lock your phone immediately after taking the photograph.
- Whenever possible, wait until your print has been completely fixed and washed.
Darkroom safety rules
- No food or drinks in the darkroom.
- Do not run, push or behave carelessly.
- Never touch, taste or smell the chemicals.
- Handle photographic paper gently by its edges.
- Keep your hands dry when using the enlarger or other electrical equipment.
- Do not mix or pour chemicals unless directly supervised.
- Report every spill immediately. Do not clean it yourself unless instructed.
- If chemicals touch your skin, tell the teacher and rinse the area immediately with plenty of water.
- If chemicals enter your eyes, tell the teacher immediately and use the eyewash bottle or eyewash station. Rinse continuously for at least 15 minutes, do not rub your eyes and follow the first aider’s instructions.
- Do not switch on the white lights until the teacher confirms that everyone’s photographic paper is safely covered.
- Wash your hands thoroughly when you have finished.
Photograph your finished outcomes and upload them to your project blog. Explain which photogram represents Order, which represents Chaos, what objects you used and how light, transparency and distance affected your results.
WEEK 2 – WC/ 7th Sep
This week, you will investigate photograms and learn how images can be created without using a camera. You will explore how transparency, light and the distance between an object and the photographic paper affect the final image. You will also research artists who use photograms. This research will prepare you to create your own photograms in the darkroom.
In Lesson Tasks
Research Task: Photograms
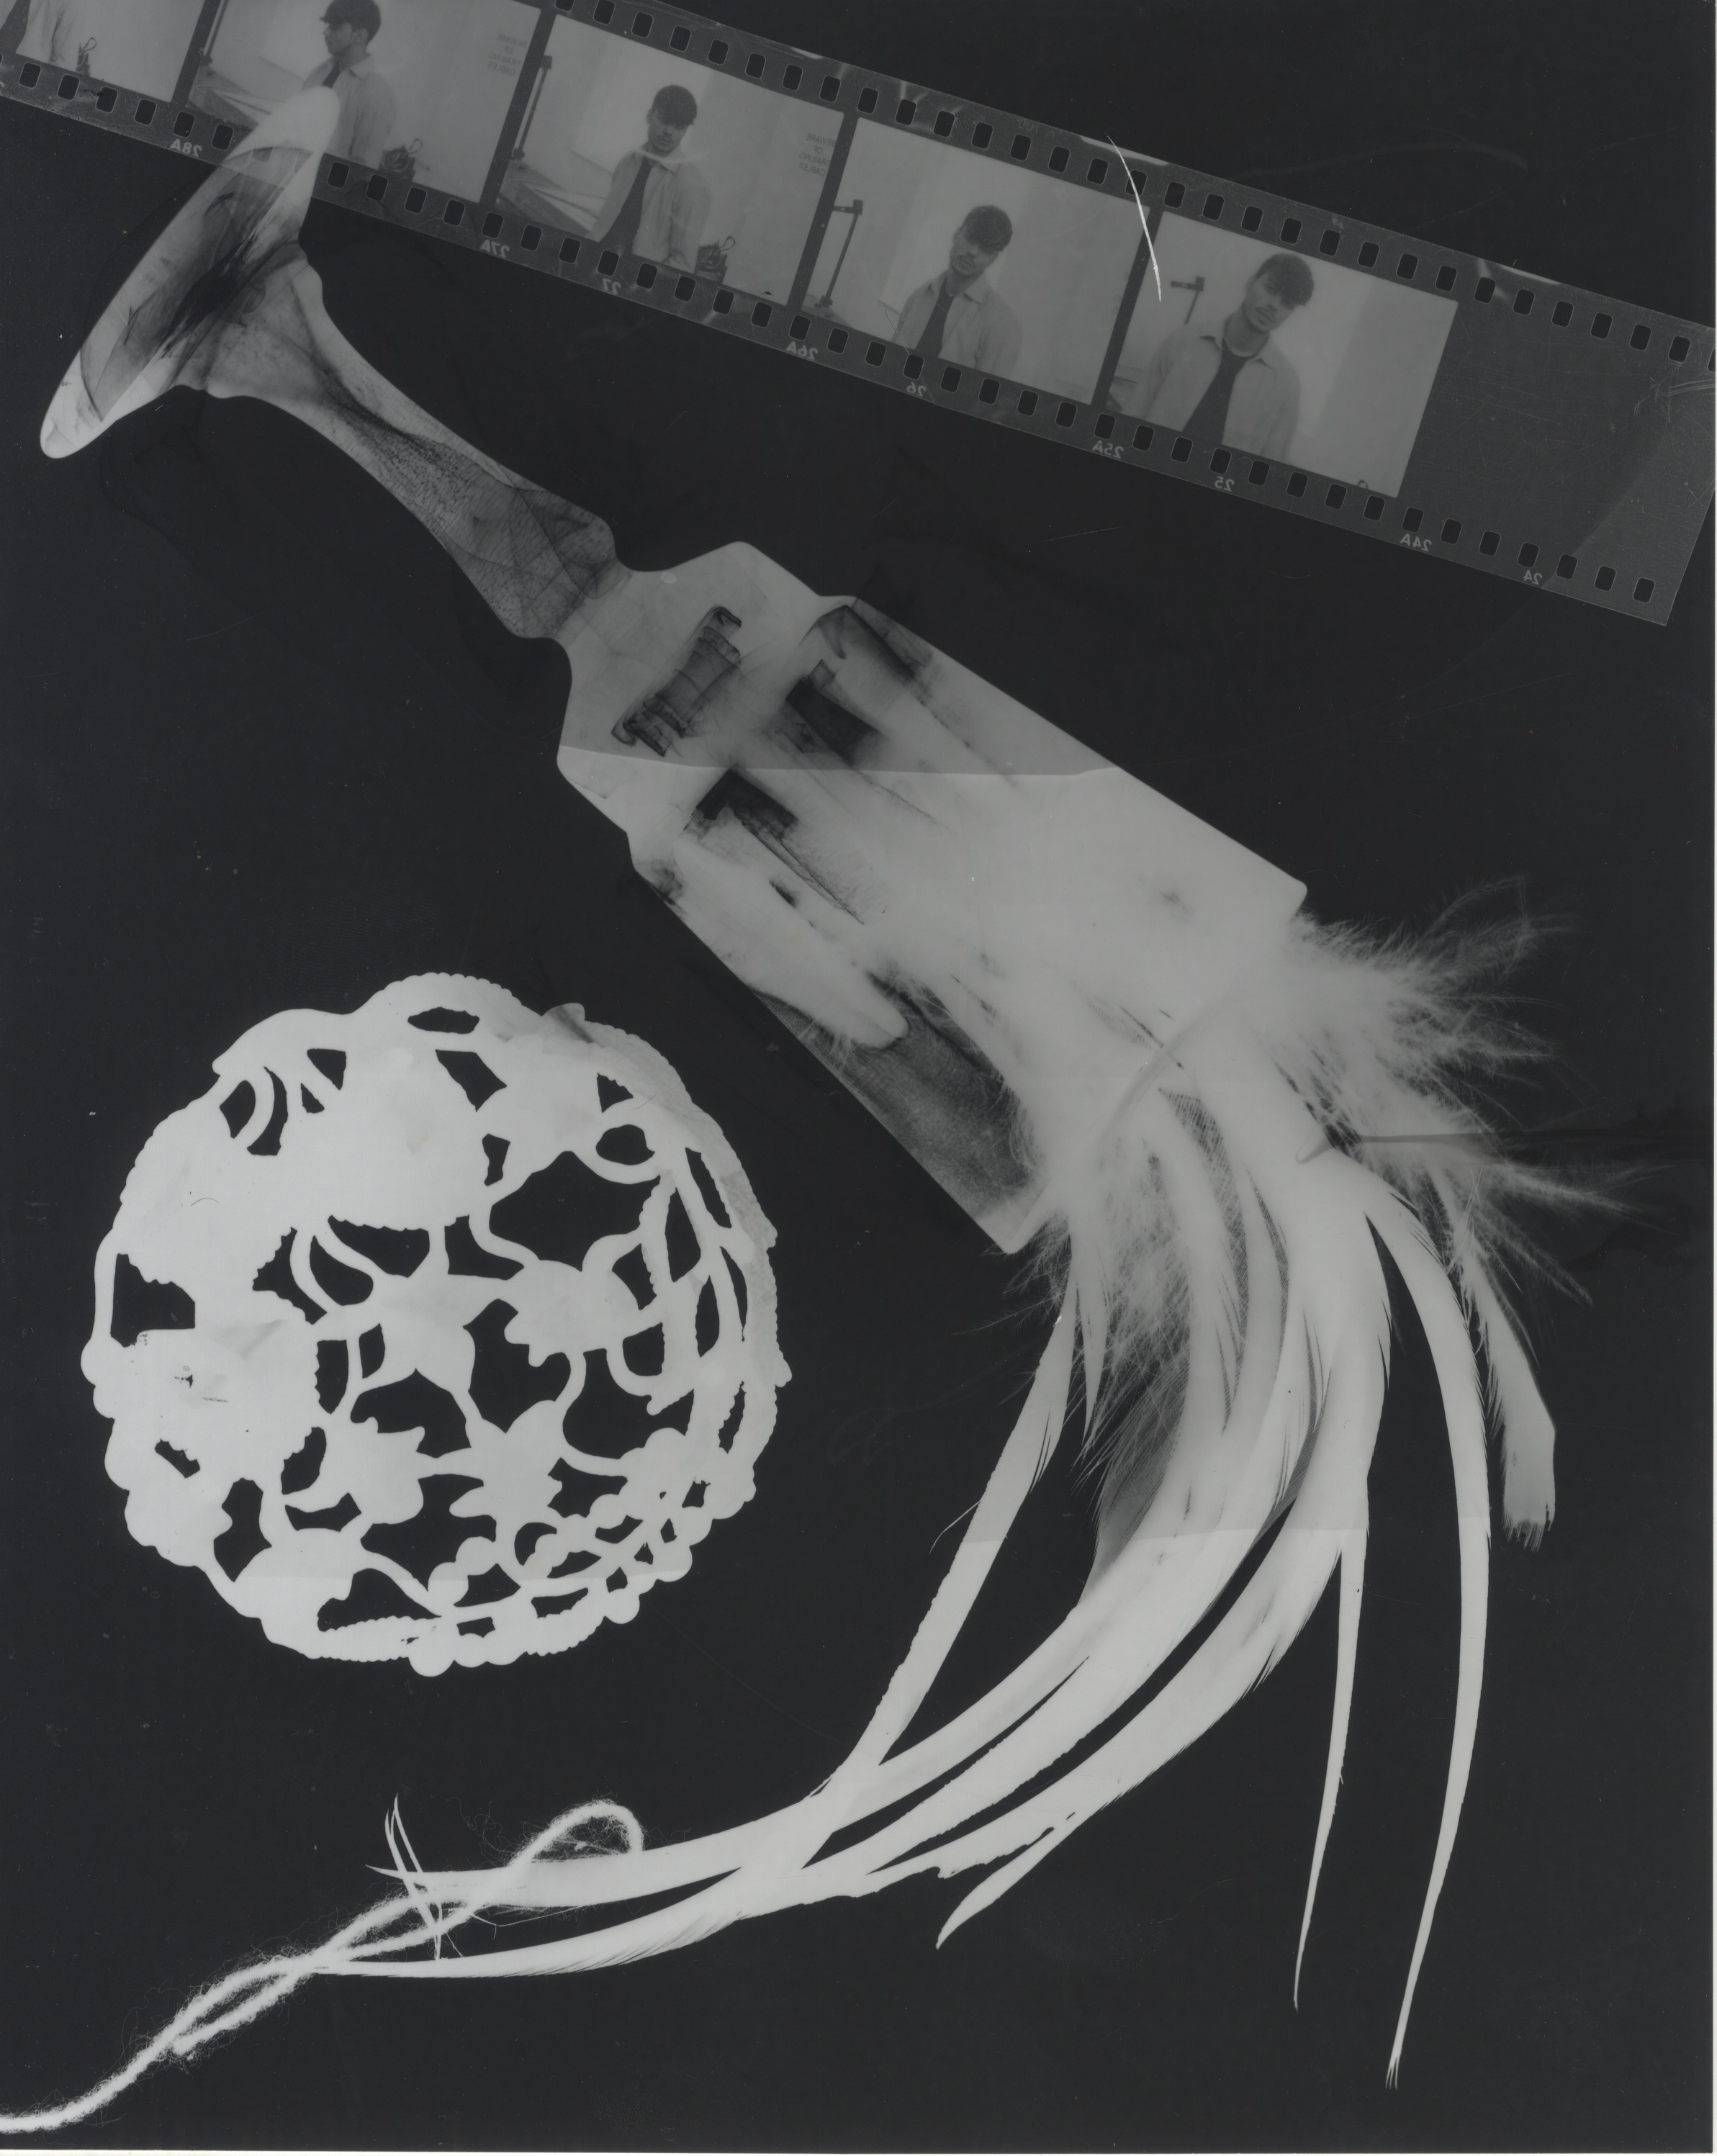
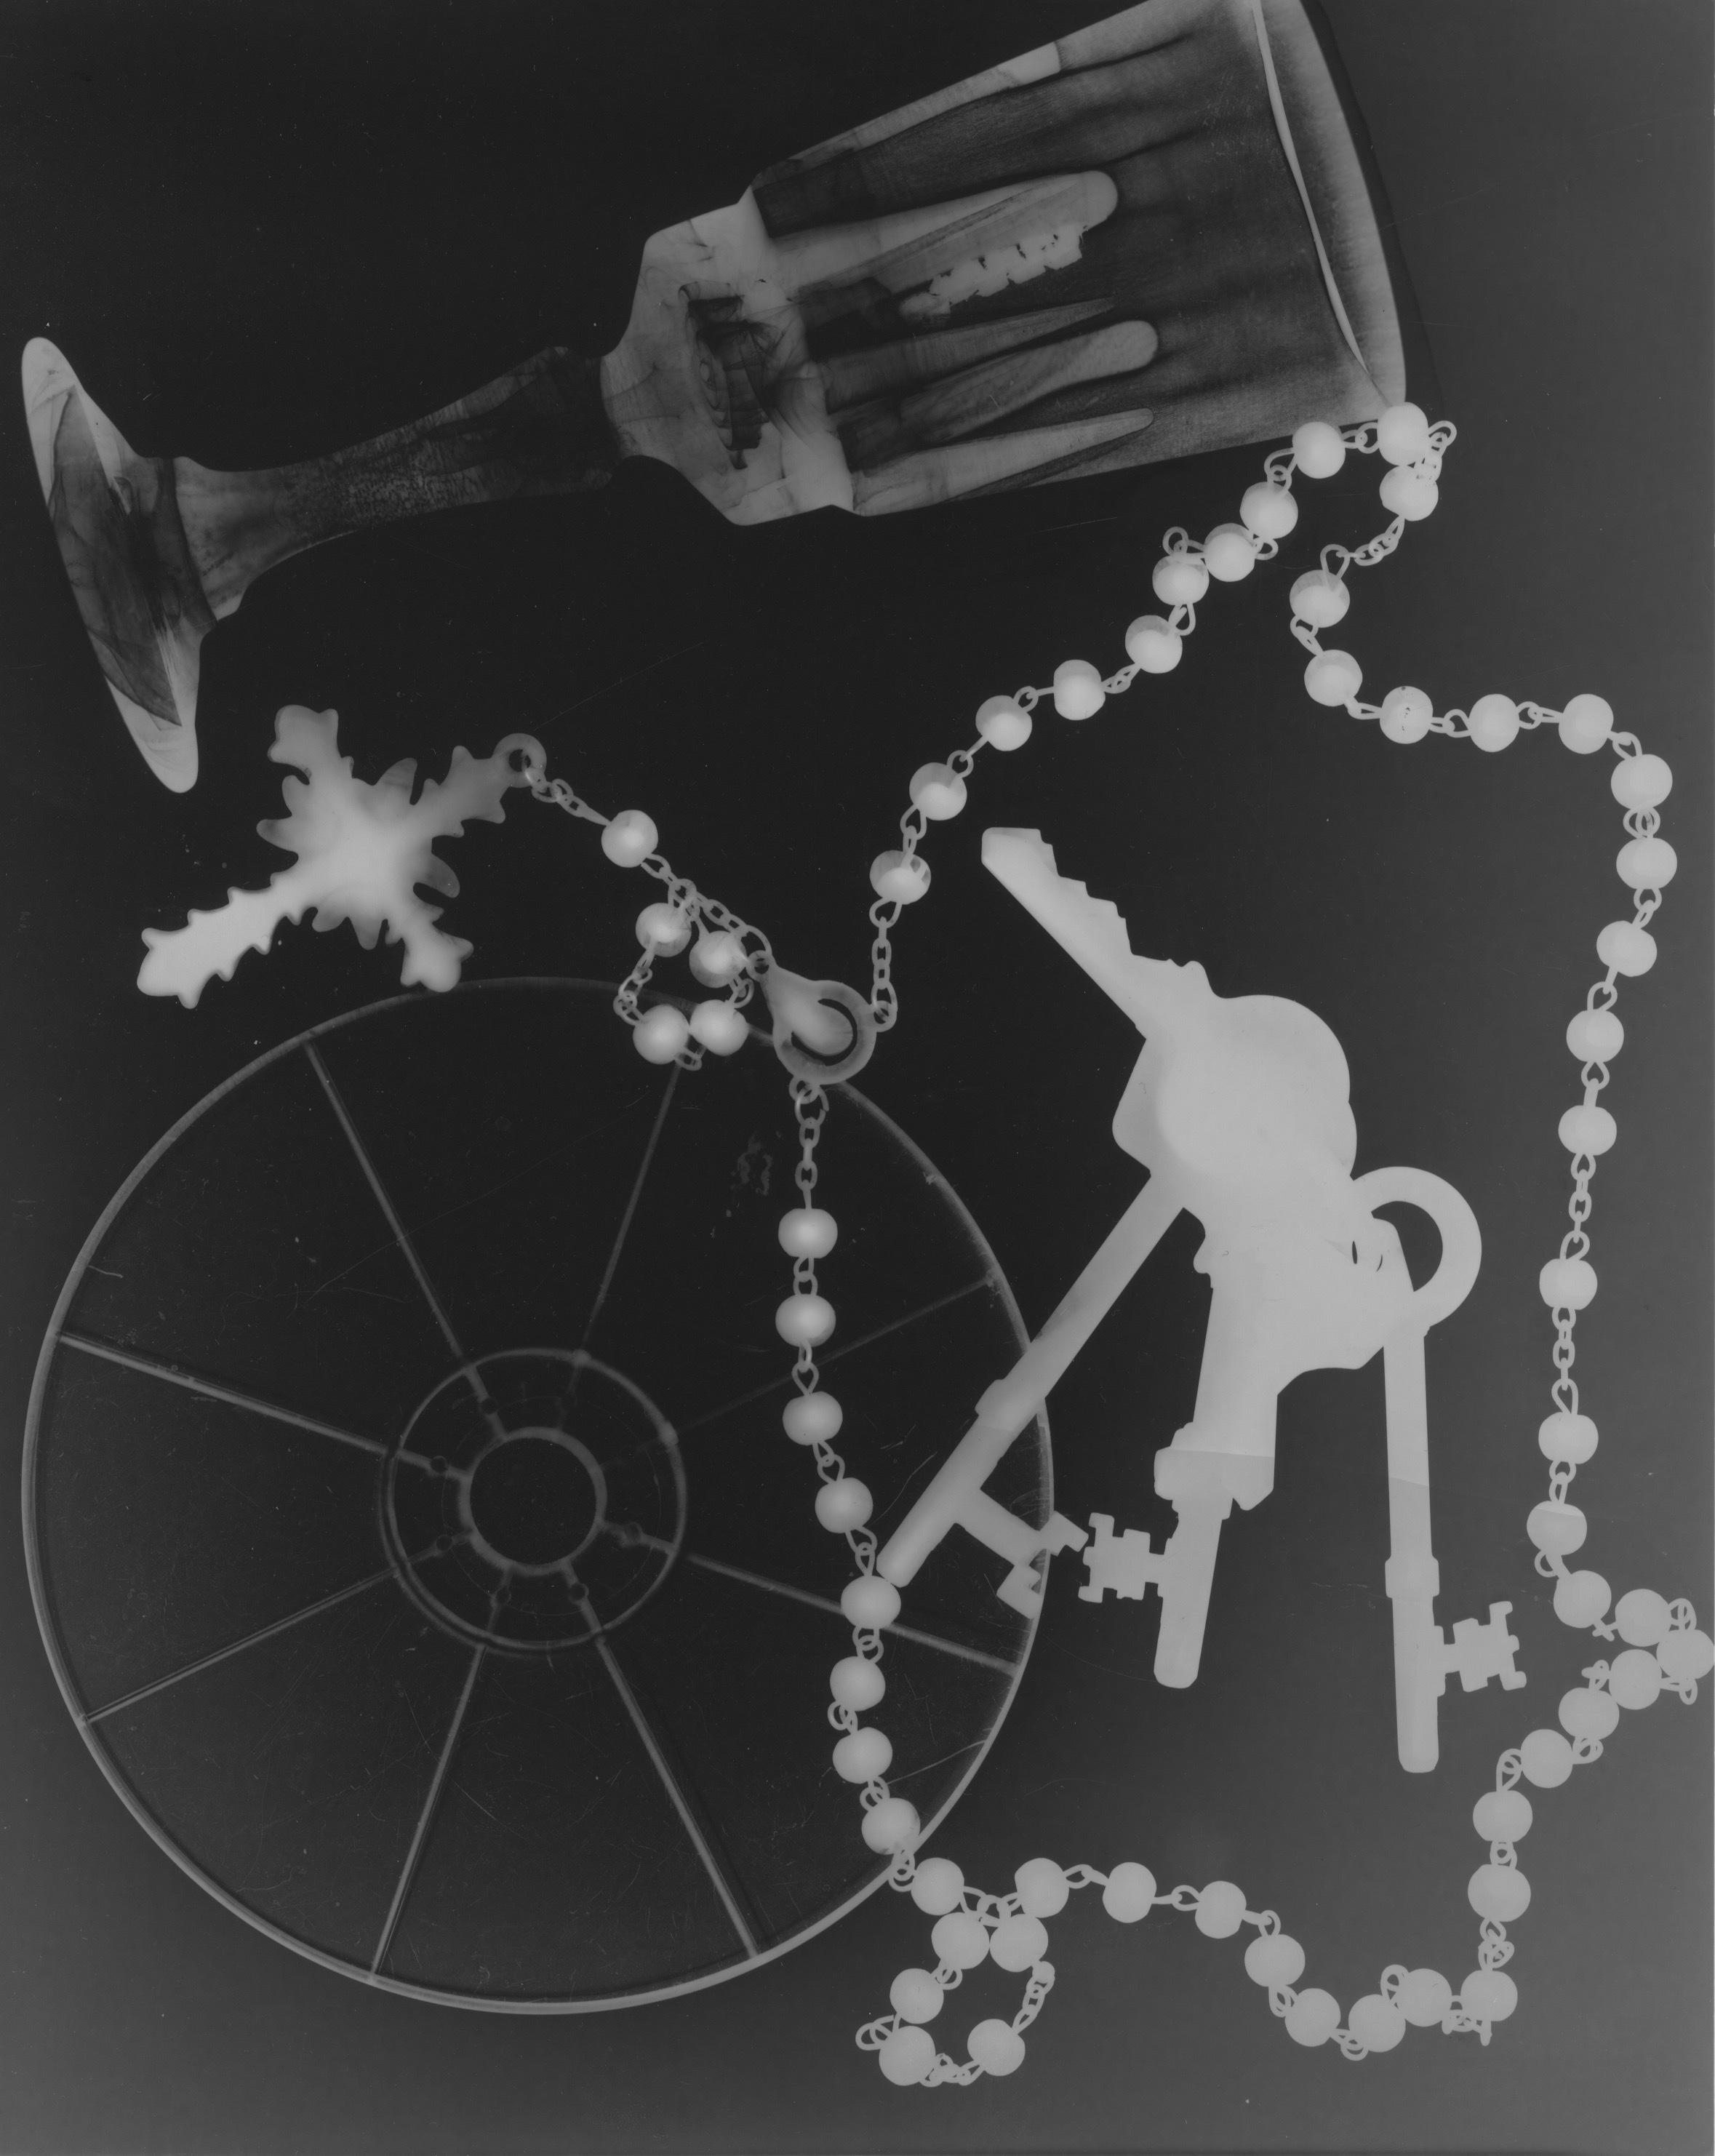
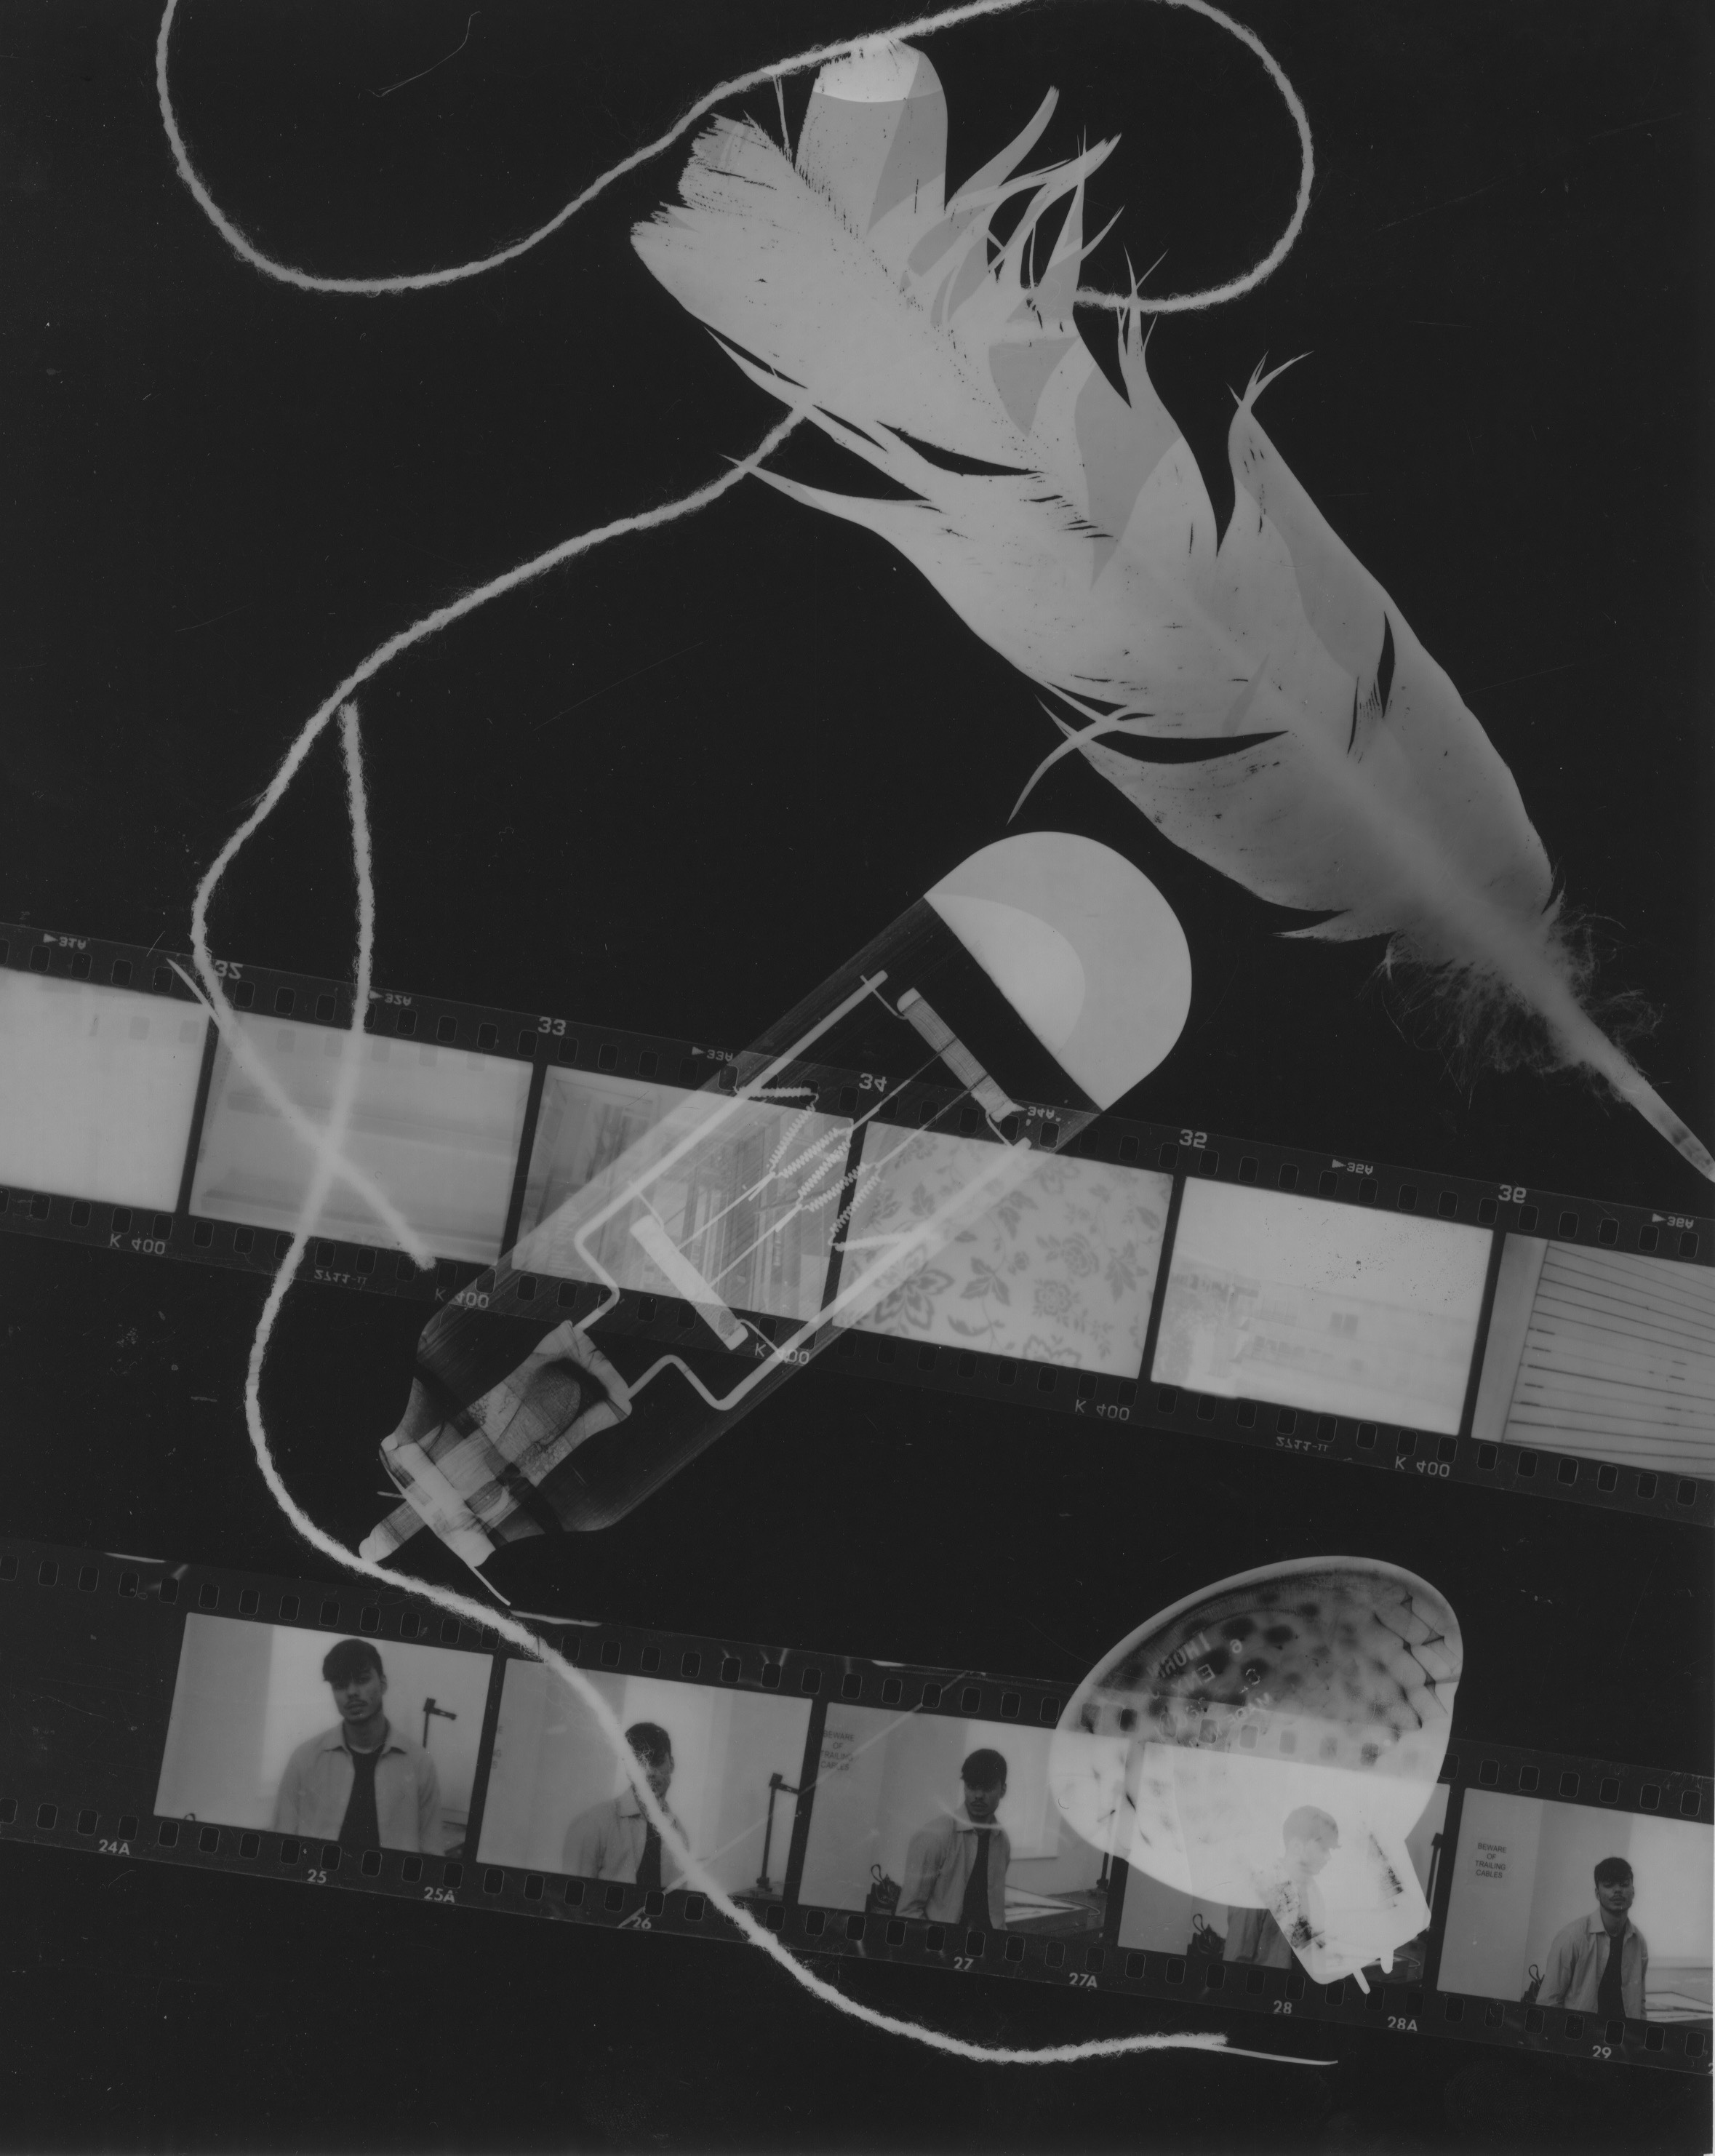
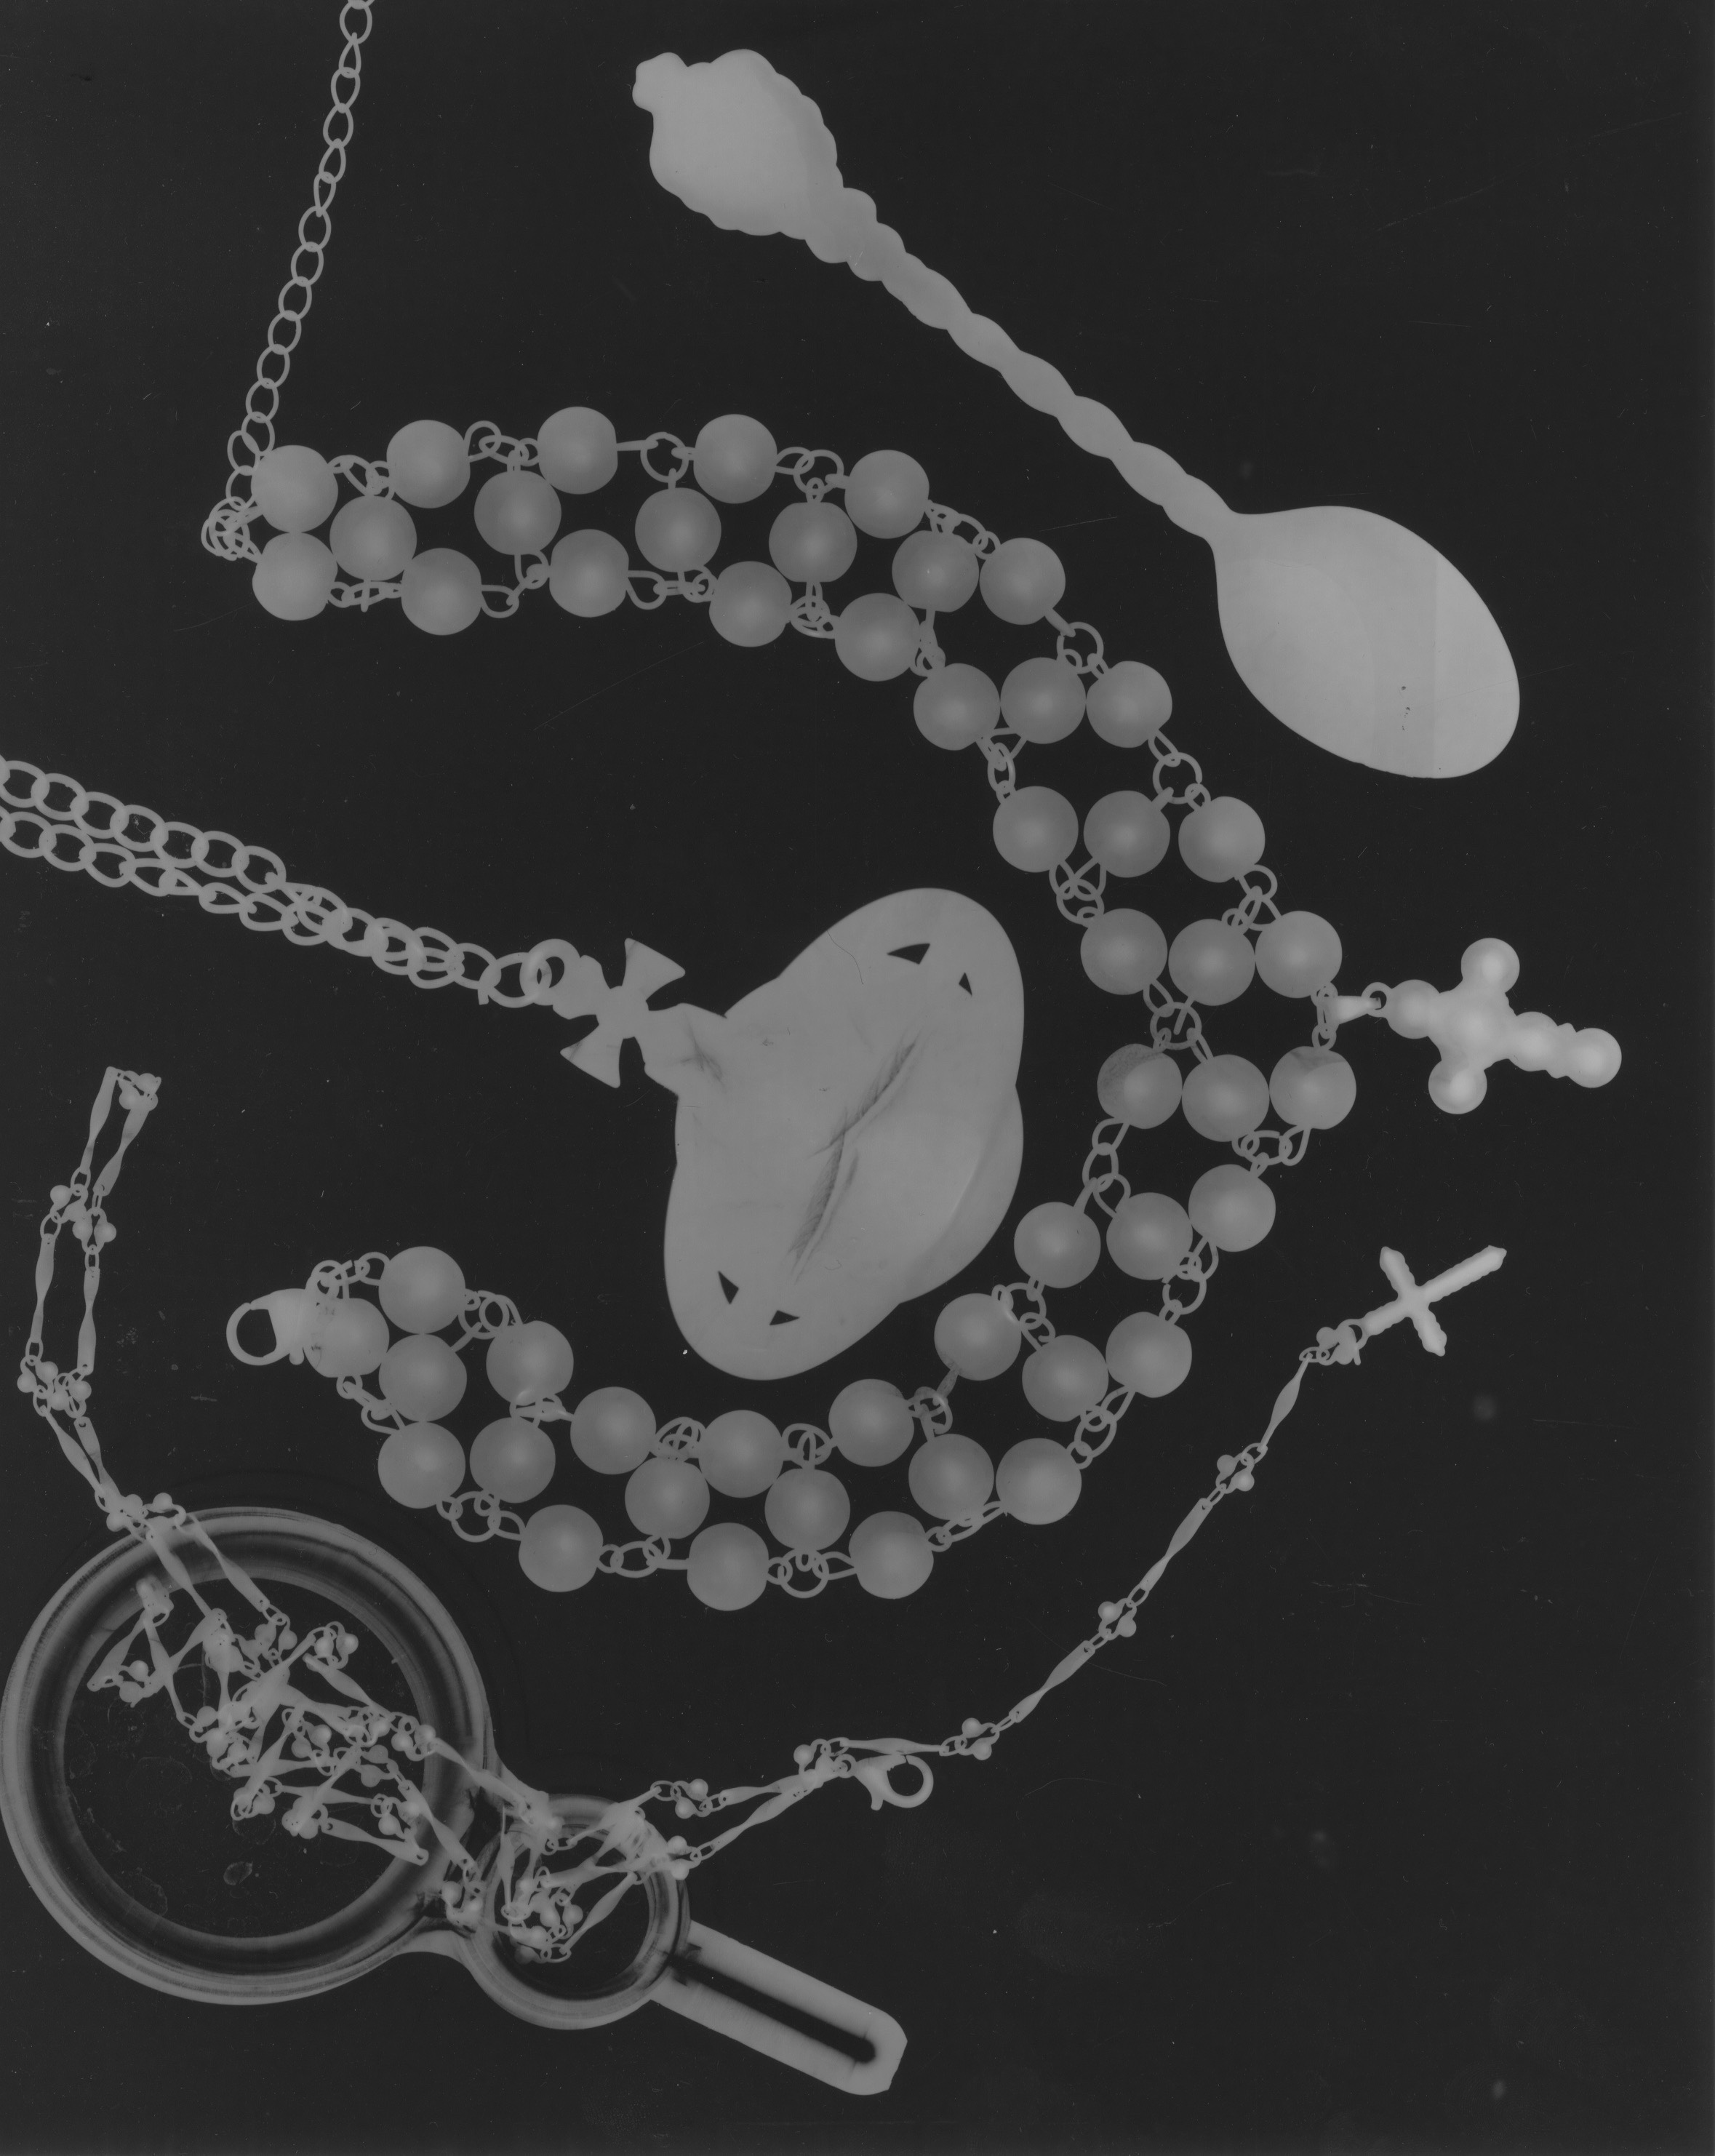
What is a photogram?
A photogram is a photograph made without using a camera. Objects are placed on light-sensitive photographic paper and exposed to light. The paper is then developed in a darkroom.
Your task
Create one research page or PowerPoint slide explaining photograms. Include pictures and answer the questions below.
1. How is a photogram made?
Put these stages in the correct order and explain them:
- Place objects on photographic paper.
- Expose the paper to light.
- Develop the photographic paper.
- Stop, fix and wash the image.
2. How do objects affect the image?
Explain what happens when you use:
- Opaque objects: block the light and create white shapes.
- Transparent objects: allow light through and create darker shapes.
- Translucent objects: allow some light through and create grey tones.
3. Distance and shadows
Explain how the distance between the object and paper changes the result:
- Object touching the paper: creates a sharp, clear outline.
- Object lifted above the paper: creates a softer, blurred shadow.
- Object moved higher: usually creates a larger and more blurred shape.
Add or draw an example showing a sharp shape and a blurred shape.
4. Research two artists
Choose two artists from this list:
- Man Ray – called his photograms “Rayographs”.
- László Moholy-Nagy – experimented with light, shape and transparency.
- Anna Atkins – used plants to create blue cyanotype photograms.
- Susan Derges – creates photograms using water and natural environments.
For each artist, include:
- The artist’s name
- One example of their work
- Three facts about the artist
- What objects or materials they used
- What you like or dislike about the work
Helpful sentence starters
- A photogram is…
- It is created by…
- When an object touches the paper…
- When an object is lifted above the paper…
- A transparent object creates…
- The artist I researched is…
- I like this photogram because…
Checklist
Your work must include:
- A clear definition of a photogram
- An explanation of how one is created
- Information about transparency
- An explanation of sharp and blurred shapes
- Research about two artists
- At least three images
- Your own opinion

